
Setting up a Web widget
1. What is a web widget?
A web widget is an embeddable tool that allows you to display a feedback button, popup, or custom template directly on your website. Its primary purpose is to gather insights from users while they’re actively interacting with your content—making the feedback more relevant and immediate.
When creating a web widget, you’ll be guided through several configuration steps:
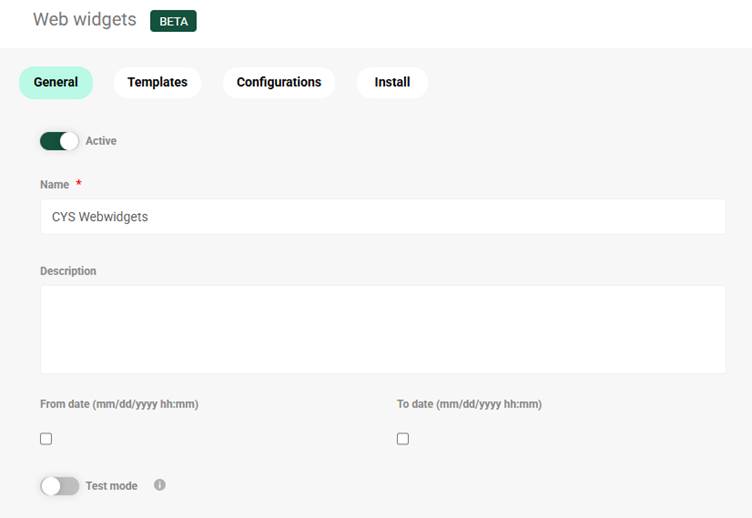
- General settings: Define activation status, name, description, publication dates, and test mode.
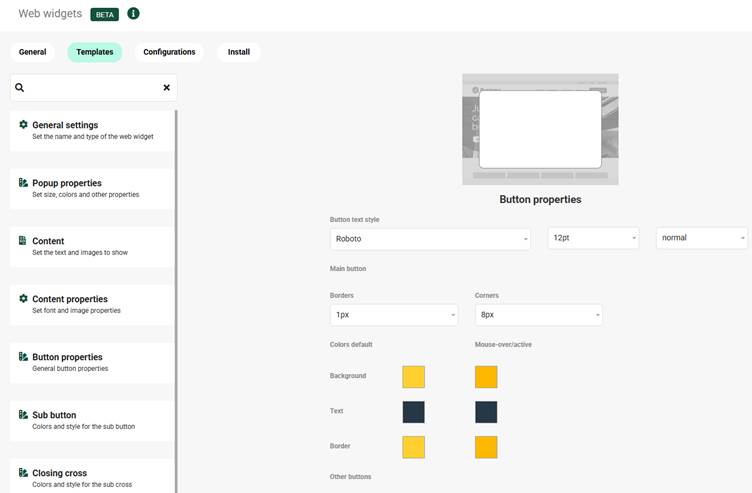
- Templates: Create and customize your templates for the button, popup, or template to match your website’s look and feel.
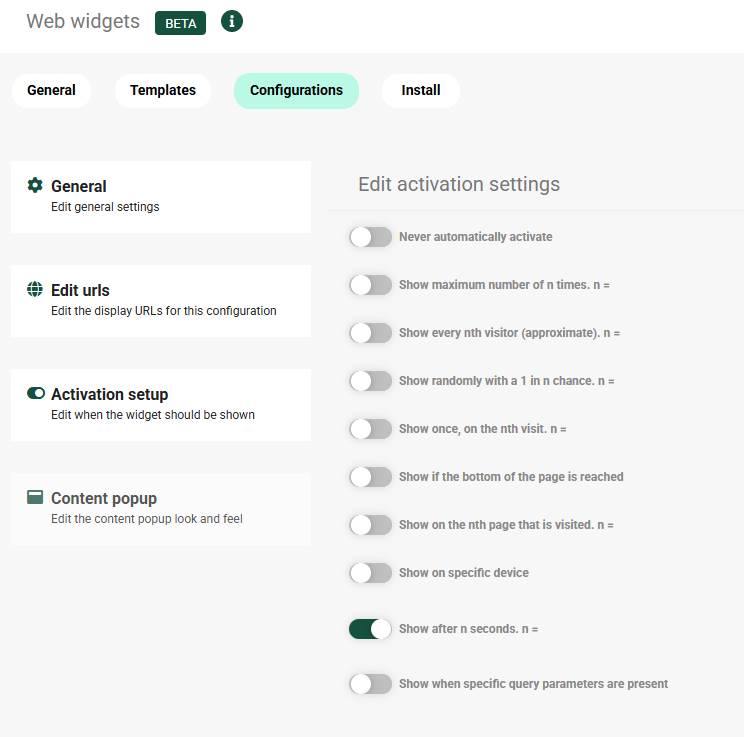
- Configurations: Determine where and when the widget appears—based on specific URLs or user behaviour.
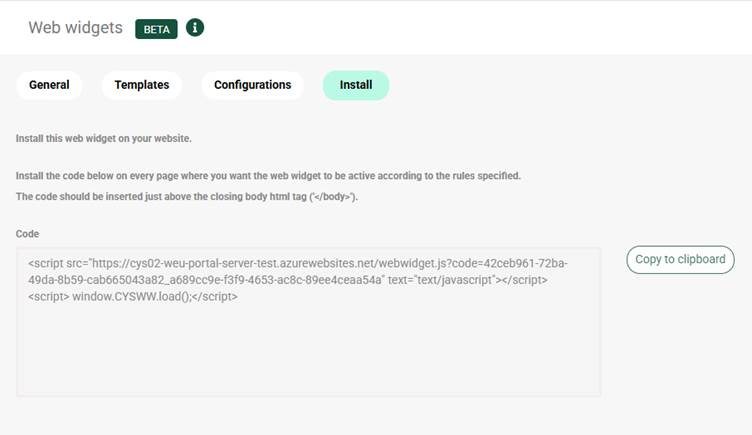
- Install: A unique embed code is generated, which can be copied and placed into your website’s codebase.
2. The value of web widgets
Web widgets extend your existing feedback capabilities by allowing you to:
- Capture feedback in the moment of interaction, rather than relying on post-session surveys.
- Increase response rates with targeted and non-intrusive prompts.
- Seamlessly integrate results into your existing dashboards and analytics—no third-party tools required.
- Enable faster insights through real-time visibility into user sentiment or issues.
This means better data, quicker insights, and a more user-centric feedback loop.
3. How to set up a web widget (step by step)
Follow these steps to create and implement your web widget:
Step 1: Create a new web widget
Navigate to the Web widget section in the main menu and click on “Add web widget” at the top right corner.
Step 2: Configure general settings
Fill in the basic information:
- Activation: Toggle on/off to manage the publication/visibility of your web widget.
- Name: Add an internal name for easy reference.
- Description: Optional field for notes.
- Start & End Date: If you want your widget to only be visible during a specific time period, you can use these to schedule your widget’s visibility.
- Test Mode: Enable this for internal reviewing before publishing.
Step 3: Create templates
You can create multiple templates for the look and feel of the web widget, to ensure it matches your branding and suits the purpose of the widget. You can choose between a button, popup, or a custom template, and tailor:
- Colors, icon styles, and text
- Placement on the page (corner, center, full screen, etc.)
All important settings are categorized in blocks. When going through the different blocks from top to bottom, you will be guided through the setup as through a wizard.
Step 4: Set up configurations
Fill out the settings for when and where your widget appears:
- Target URL: Enter the link to your feedback survey or form
- Page targeting: Specify exact URLs or patterns (e.g., /checkout, /support)
- Display conditions: Choose triggers like time on page, scroll depth, or number of visits
Step 5: Install
Go to the "Install" tab and copy the generated code snippet. Follow the instructions on the page to add this code to the webpage(s) where you want the widget to appear.
Tip: the code snippet gets generated immediately upon widget creation and stays fixed after that. You can directly fetch the code and implement it on your website. By activating the Test mode, you now have the opportunity to immediately see the results of your settings.
4. Best practices for web widgets
For best results, keep the following tips in mind:
- Keep it subtle: Use styles and placement that complement your site’s design to avoid distracting users.
- Context is key: Trigger feedback requests during meaningful moments (e.g., post-purchase, after reading an article).
- Test before launch: Use the test mode to validate behaviour and styling across multiple devices and browsers.
- Use clear calls-to-action: Make it obvious what you’re asking—e.g., “Help us improve by answering 2 quick questions.”
- Monitor and iterate: Check response rates and user behaviour to optimize placement and triggers over time.
5. Important checks
Take the following items into consideration:
- Snippet placement: Ensure the embed code is added to all relevant pages where the widget should appear.
- Conflicting scripts: Avoid conflicts by confirming that other third-party scripts don’t interfere with widget behaviour.
- Mobile responsiveness: Always preview your widget on mobile devices to ensure usability.
- Survey links: Double-check that the linked survey or feedback form is live and accessible.
By integrating web widgets into your website, you’re enabling more immediate, contextual feedback—leading to faster insights and smoother experiences. For further assistance, review our in-portal tours or support videos.